Connect Stripe and map your products and coupons so that ScaleXP replicates Stripe invoices directly in QuickBooks.
Note: For information on integrating with Xero, see How to integrate Stripe and automate invoice creation in Xero.
1. Connect to Stripe
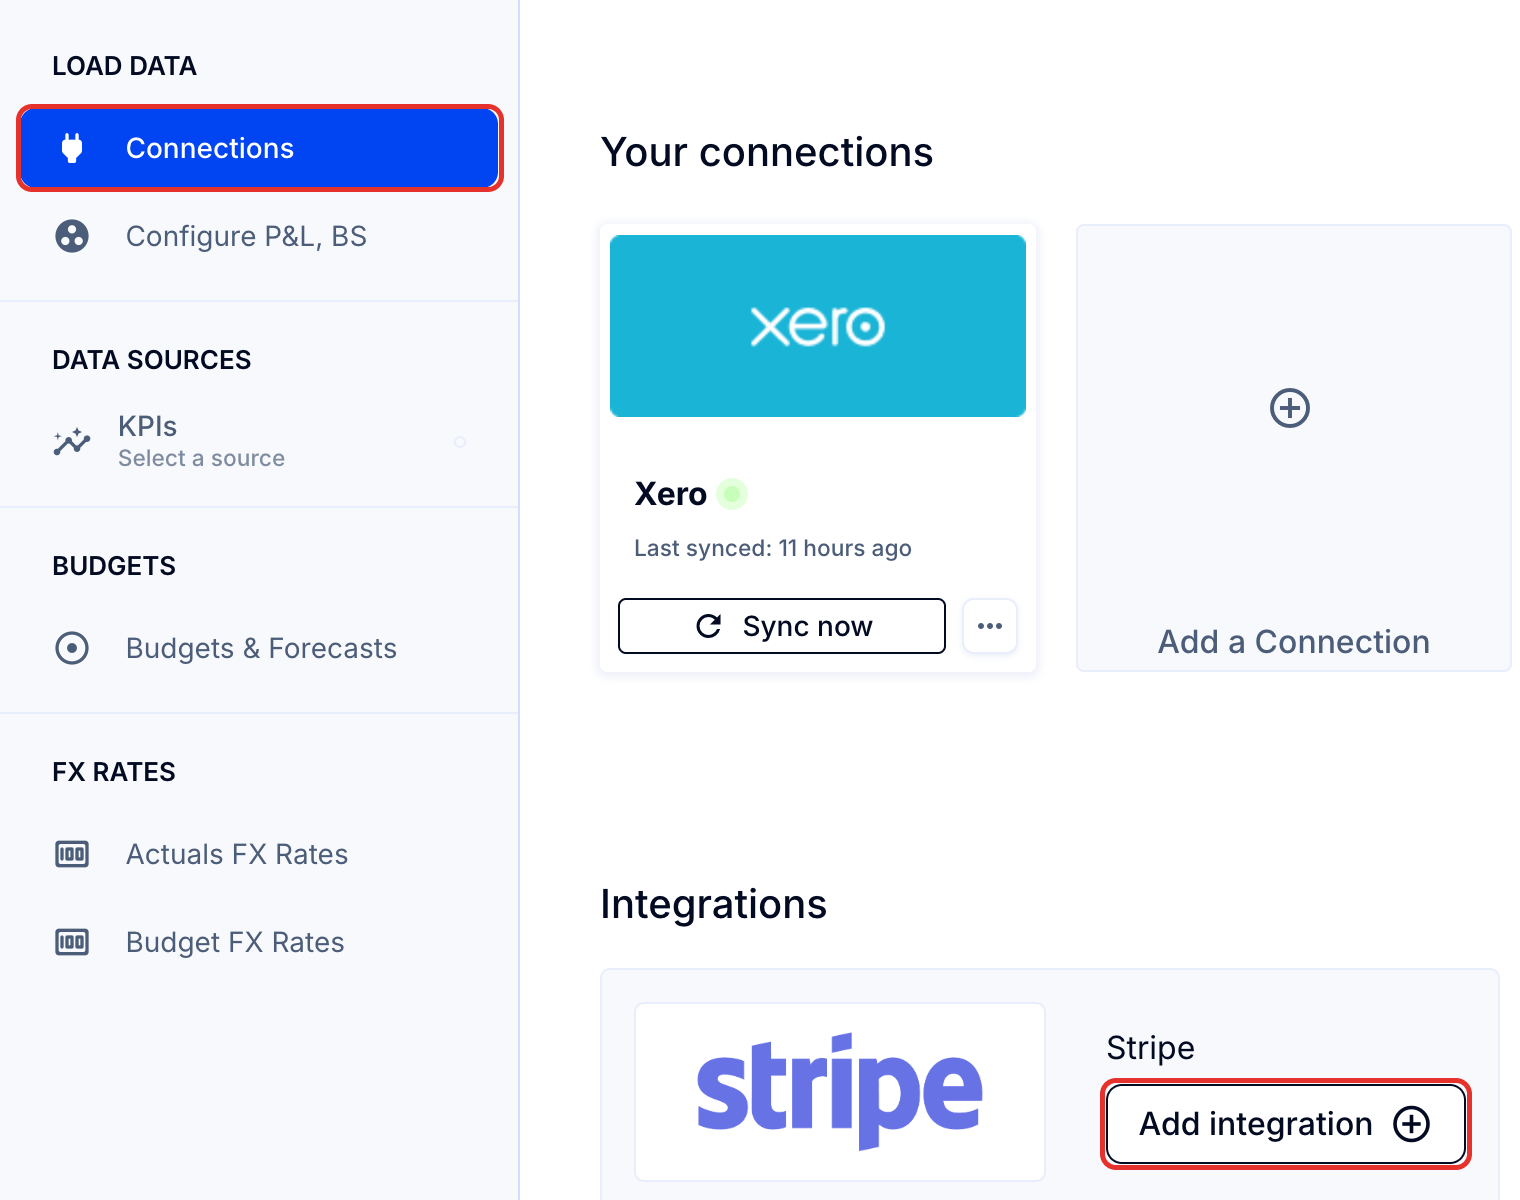
- To enable ScaleXP to transfer invoices from Stripe to QuickBooks, go to Load Data (top bar) > Connections (left sidebar) > Stripe > Add integration.
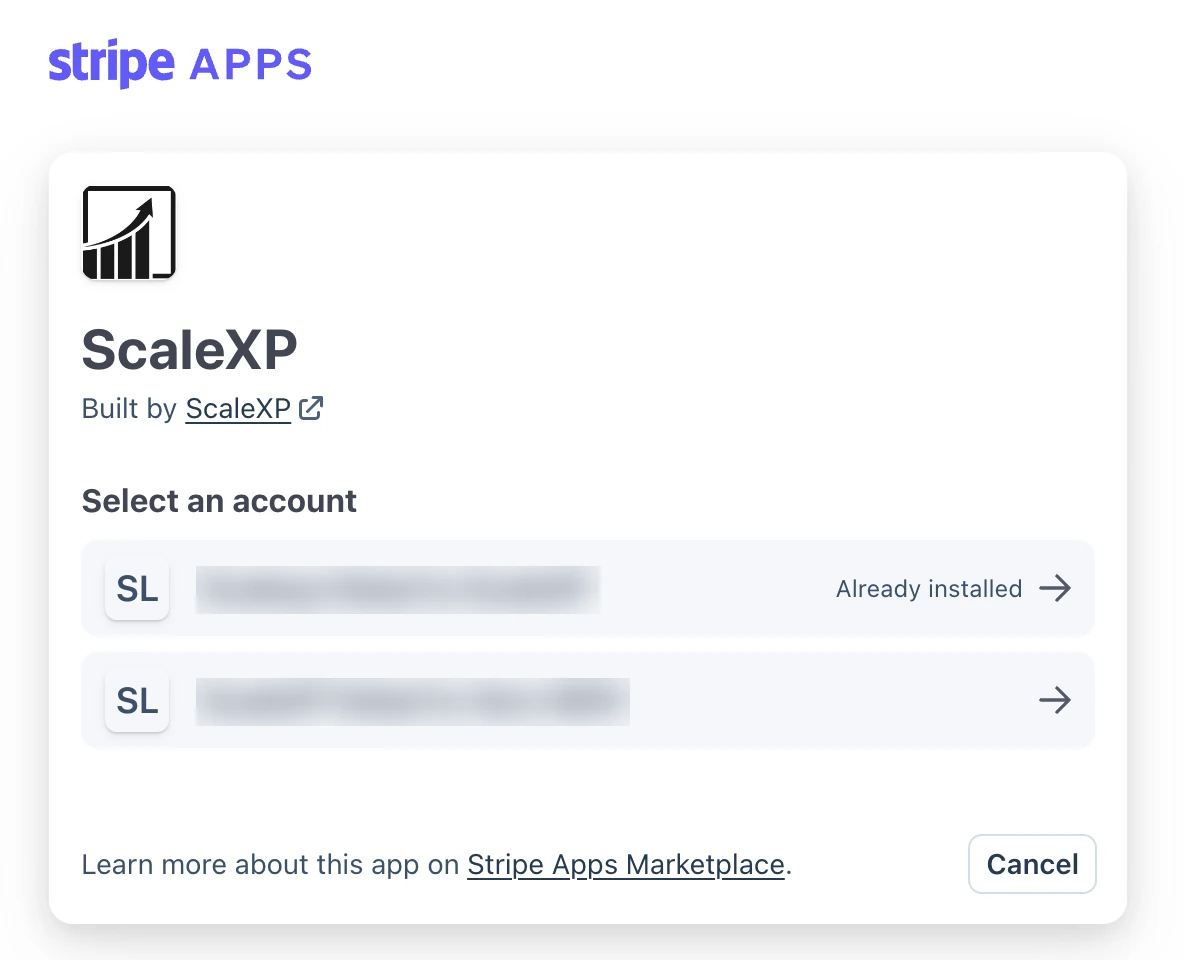
- Select the Stripe account linked to your company and scroll down to Connect.
- Return to Load Data > Connections and click Configure on the Stripe card.
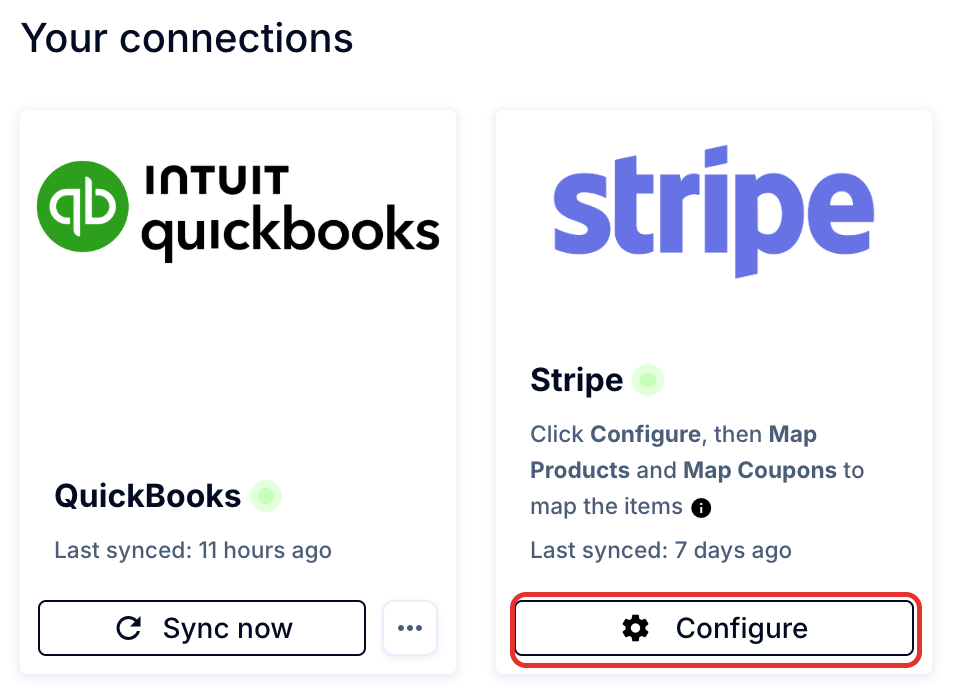
The Stripe configuration page opens. It has three sections: Where invoices go, Import options and Mapping. Work through the sections below to complete the setup.
2. Choose where invoices go
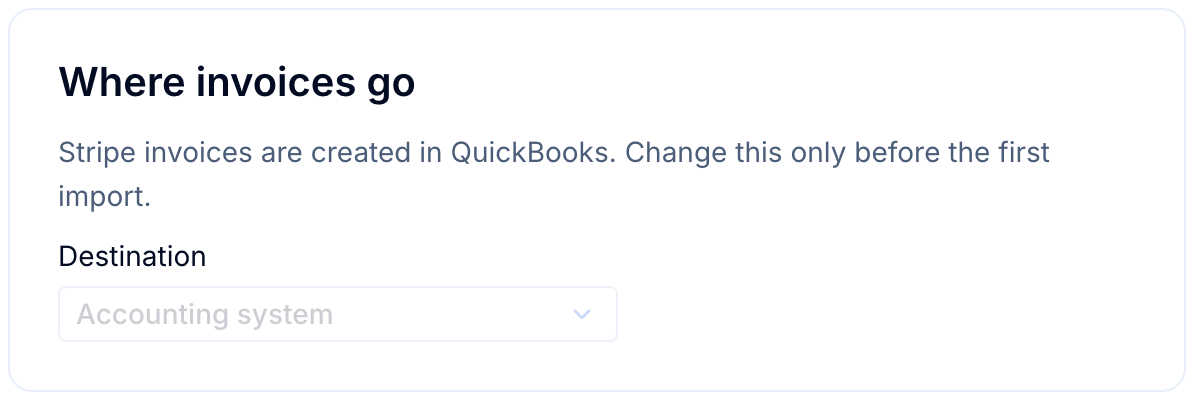
Under Where invoices go, set Destination to Accounting system. Stripe invoices will then be created in QuickBooks.
Important: Change the destination only before the first import. To import invoices into ScaleXP only, choose ScaleXP instead and follow Stripe and ScaleXP integration: Create invoices directly into ScaleXP.
3. Set the import options
Under Import options, turn on the toggles you need. All of them are off by default.
- Import documents with zero values - brings across zero-value invoices and credit notes (for example, 100% discounts) instead of skipping them. This setting locks once turned on.
- Allocate line item discounts by product - discount lines post to the same account as the line they discount, instead of the coupon account. See How to allocate discounts to line item account codes.
- Shorten subscription periods by 1 day - Stripe ends a subscription period on the same day the next one begins, so a monthly invoice issued in March runs from March 1 to April 1 and an annual subscription spreads revenue into a 13th month. Turn this on to end each subscription line a day earlier (March 1 to March 31, for example) so revenue is recognized in the months you expect. Recommended for subscription businesses. See How to shorten Stripe subscription periods by 1 day.
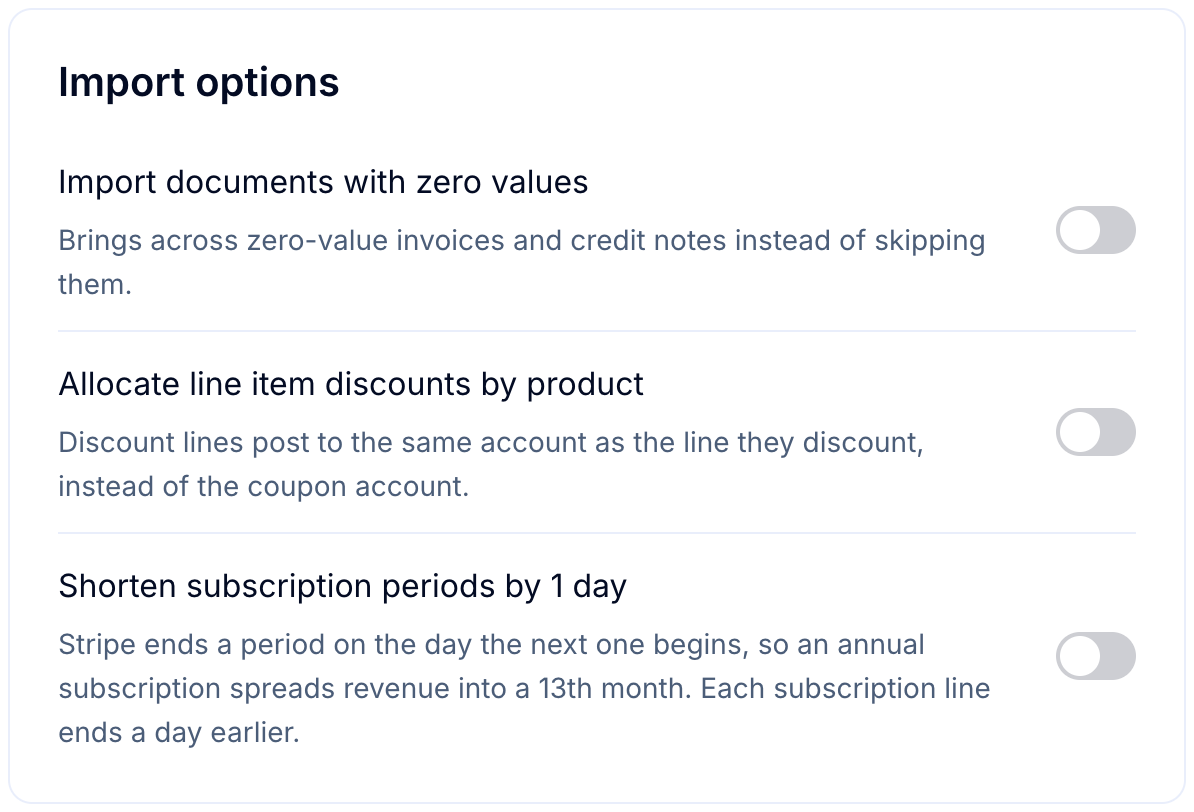
Changes to these toggles are saved automatically and apply to invoices imported from that point on.
Note: QuickBooks will not accept zero-value line items, so Import documents with zero values will only pick up invoices with offsetting line items adding up to zero, not invoices where all lines are zero.
4. Map products
The Mapping section lists each type of mapping. Until a default is chosen, it shows a Needs a default tag and a Set up button; once a mapping is saved, the button becomes Edit.
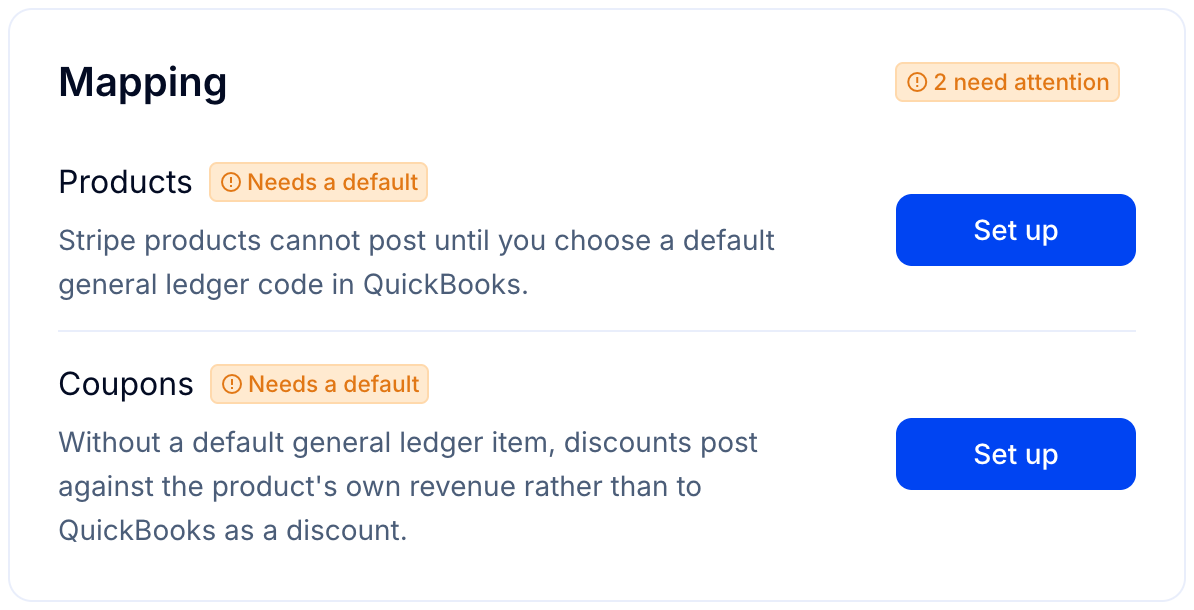
- Click Set up (or Edit) next to Products.
- Select a Default Item. This is the minimum setup required, and it acts as the on/off switch for the integration: until a default item is set, no Stripe invoices are created at all and they are skipped without an error. Any Stripe product that is not mapped individually posts to this QuickBooks item.
- To map individual products, choose the QuickBooks item for each Stripe product in the Item Code & Description column.
- Click Save.
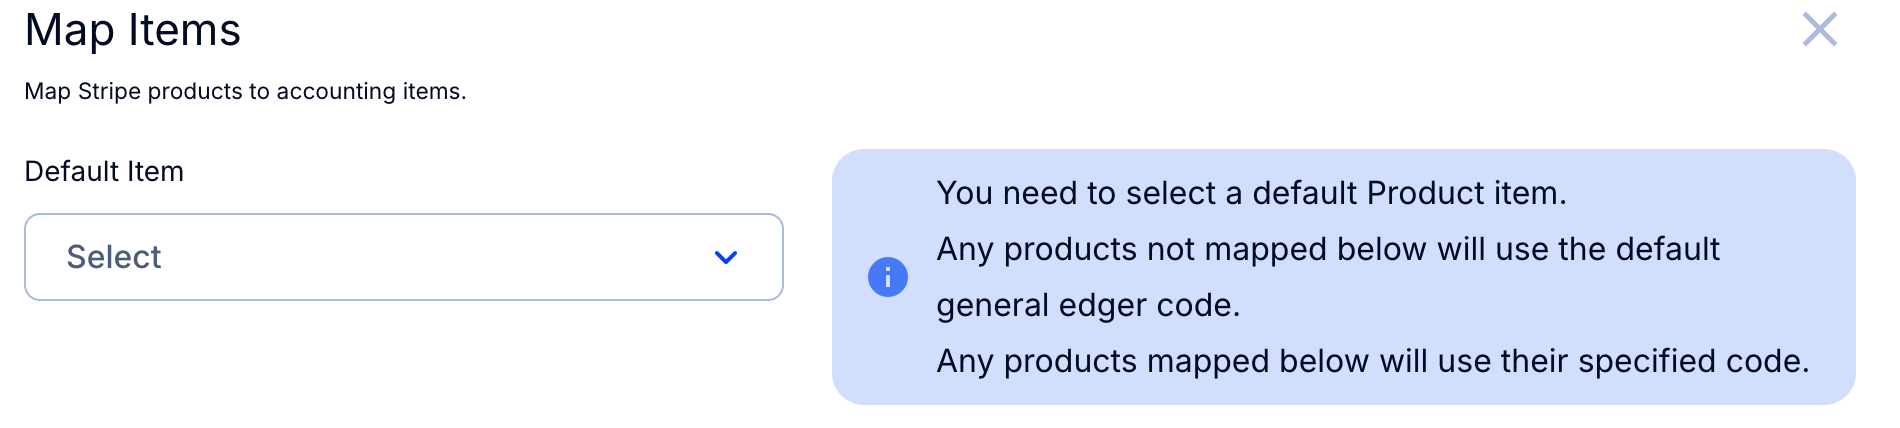
Tip: Unmapped products use the default item. This gives you the flexibility to map the important products and leave the rest on the default, which is very useful if you have many Stripe products.
Note: If you need to change your QuickBooks accounts or items, update them in QuickBooks first, then click Refresh products (top right of the configuration page) to bring the changes into ScaleXP.
5. Map coupons
- Click Set up (or Edit) next to Coupons.
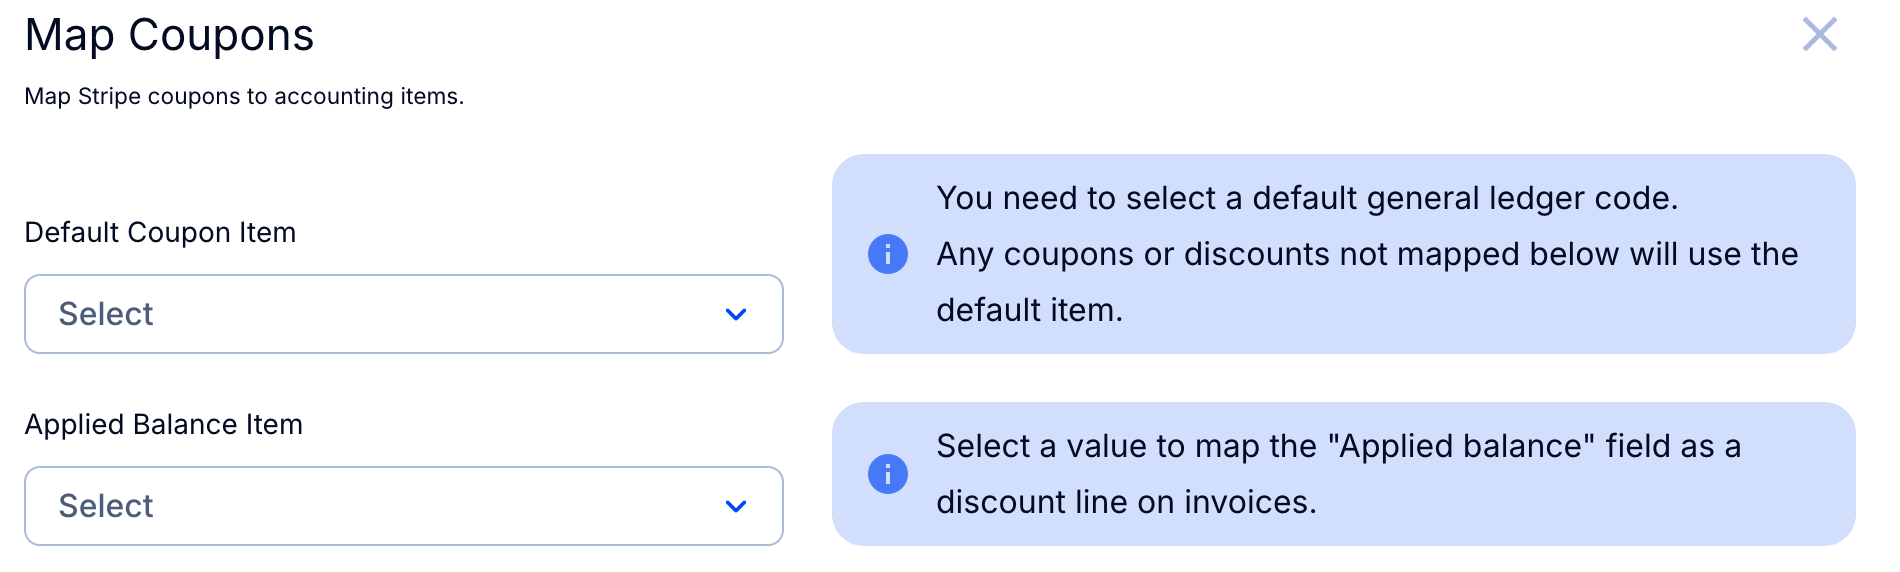
- Select a Default Coupon Item. Any coupon or discount that is not mapped individually posts here.
- Optionally, select an Applied Balance Item so that any Stripe Applied Balance on an invoice is mapped as a discount line.
- Map each coupon code to the QuickBooks item you want in the Revenue Code & Description column, then click Save.
To post discounts against the same account as the product line they discount, turn on Allocate line item discounts by product in section 3 instead. See How to allocate discounts to line item account codes.
View in your accounting system
Invoices appear in QuickBooks as final, so no further action is required. Zero-value Stripe invoices are not imported unless Import documents with zero values is on.
Map new products and coupons
Important: When new products and coupons are added in Stripe, these need to be mapped in ScaleXP before an invoice using them is created in order to capture all the mapping automatically.
- Click Refresh products (top right of the Stripe configuration page).
- Complete the mapping as outlined in sections 4 and 5 and click Save.
Note: The last synced message on the Stripe card refers to the last sync date for mapping, not invoice syncing. Invoices are synced to ScaleXP or QuickBooks as soon as they are created in Stripe.
How it works
If you use Stripe to invoice customers and would like to use ScaleXP to automate your deferred revenue schedule, ScaleXP allows you to replicate Stripe invoices in QuickBooks or, alternatively, to replicate Stripe invoices into ScaleXP and journal in bulk into QuickBooks.
For more information on invoicing to QuickBooks in bulk, see Stripe and ScaleXP integration: Create invoices directly into ScaleXP.